In summer 2003 I decided that I absolutely needed to have an arcade cabinet, so I phoned up my buddy Thayer for help and he said "...k." so begins the legacy of....
THE GHETTO ARCADE PROJECT
We scoured internet forums and arcade resource pages for help. We talked to a technician at the local arcade (who has provided a great deal of help in our project) and got the skinny on how arcade cabinets work.
I made a trip to Vancouver to obtain parts for the project. I stopped by a store in downtown Vancouver called John's Jukes. The store owner was a tad condescending, but helpful. He sold me a JAMMA harness ($10) and part of a supergun rig ($25).
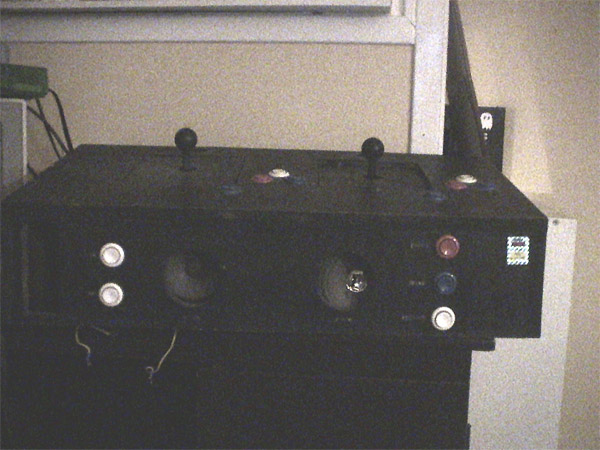
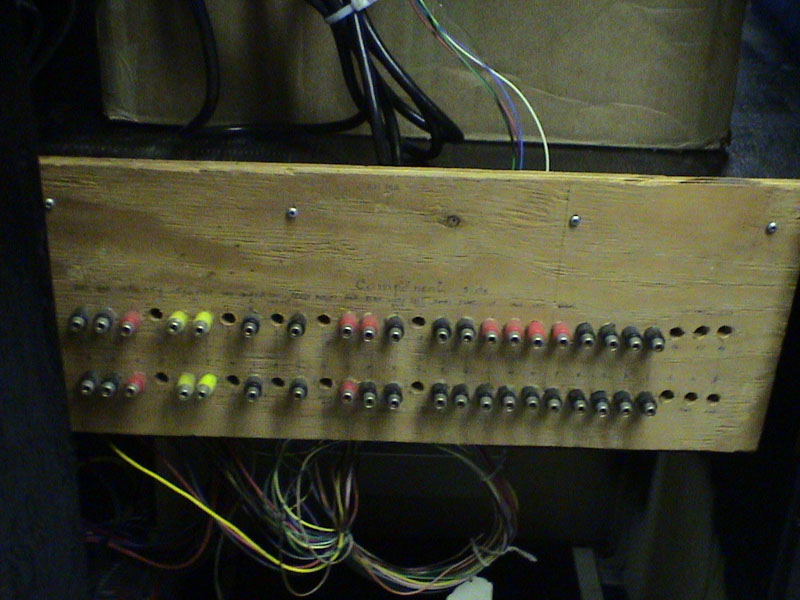
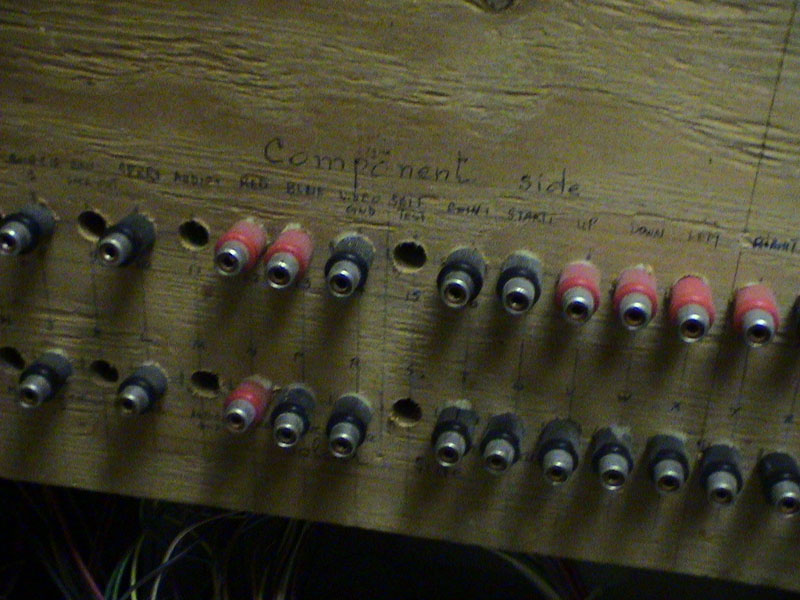
This provided us with two 8-way joysticks, thirteen pushbuttons (5 white, 5 blue, 3 red), a cool SEGA holographic sticker, a big shitty mess of wiring, two broken speakers, a neat testing board made out of a bunch of RCA plugs, mold due to water damage, and, once we gutted it, a heavy piece of firewood.
The speakers were unusable but replaced by something infinitely cooler (later).
I learned from our arcade guru that most arcade games use an RGB video signal. I made a trip to my old shcool and saved an old Amiga class comp monitor from being thrown in the dump. It's 13", but that's good enough for now.
So begins the gutting process!
We had some cables hanging from my ceiling like jungle vines to save floor space.

We found some spare speakers and a couple of subwoofers in a box and an old stereo amp in the storage closet. We tried it out on my computer. We have sound!
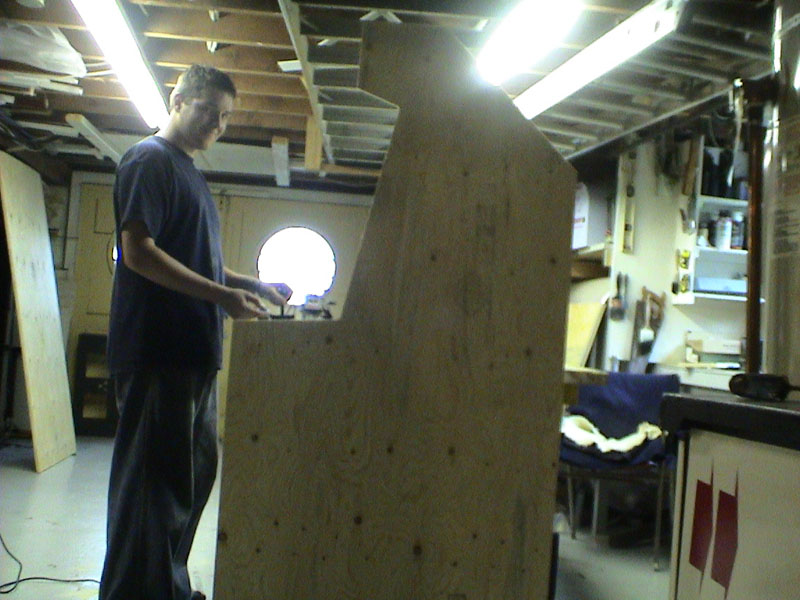
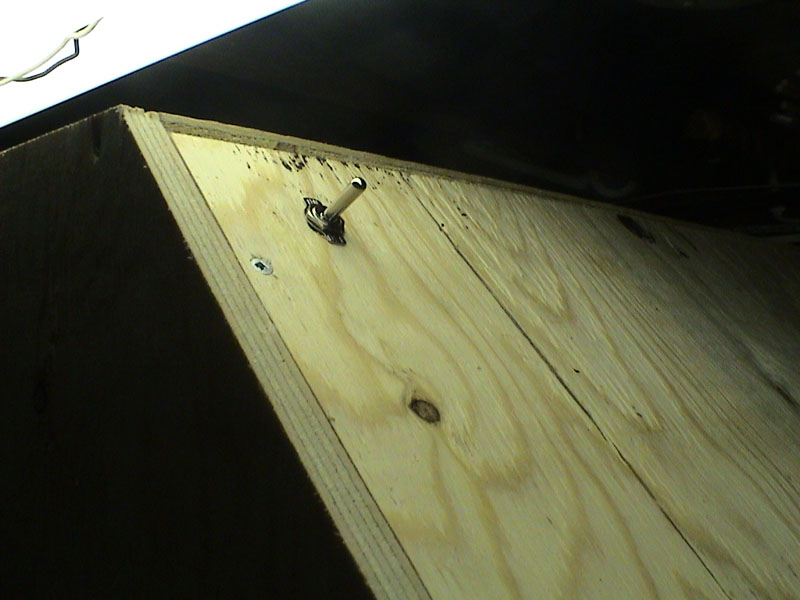
Down to Home Depot we go. Got some plywood sheets to start construction of the cabinet. Here is Thayer posing behind the first cut sheet of plywood while holding a joystick and button behind it giving the illusion that they are mounted in already. The wonders of trick photography!
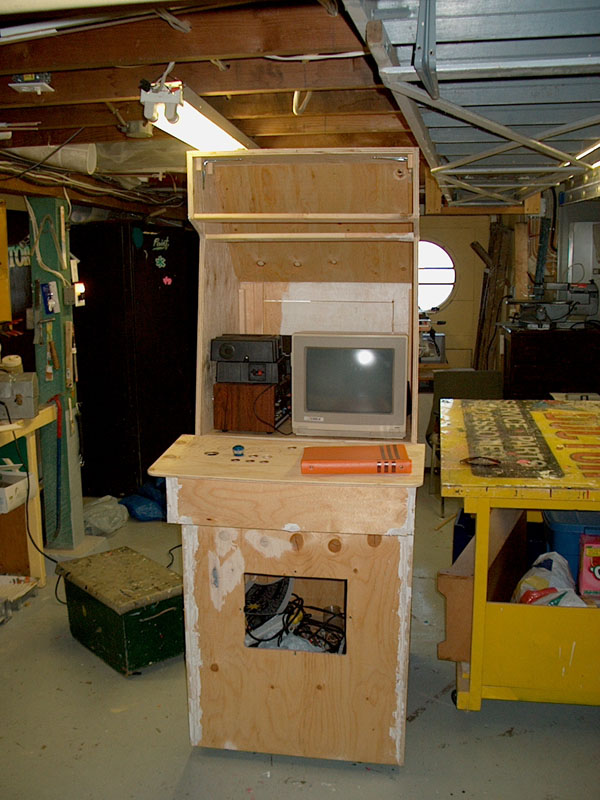
Blahblahblah a few weeks later (August 1, 2003) we had the shell of the cabinet built and used it as a way of storing the big mess we had made. Orange binder is our collection of game instruction booklets.
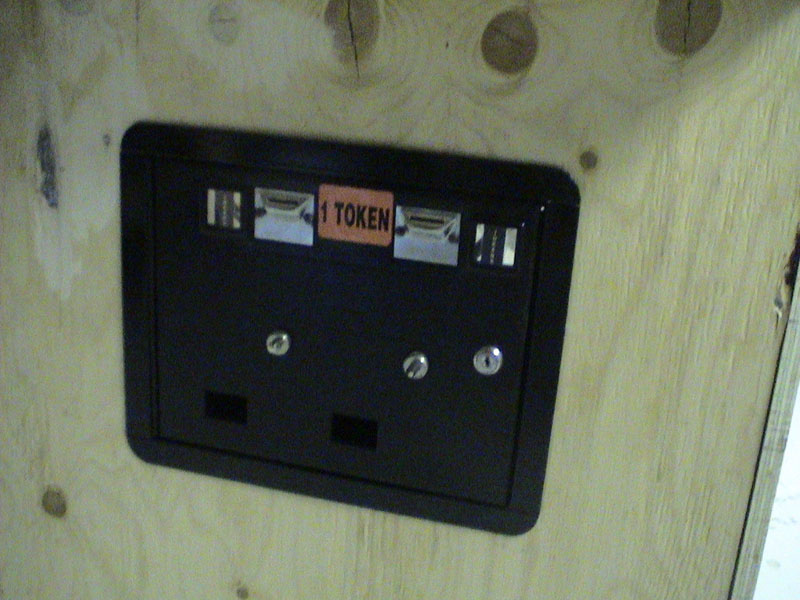
Thayer took a trip to Kelowna and along the way he stopped off at a minigolf/arcade and asked if they had any junk to donate to our project. They generously gave us an old pinball coin door (sans mechanisms), 1/2 player start buttons, and those little black disc things that go on joysticks. We gave the coin door a new coat of paint while preserving the cool little orange "1 TOKEN" sticker. Thayer then proceded to try and screw the new buttons into his nipples with little success.

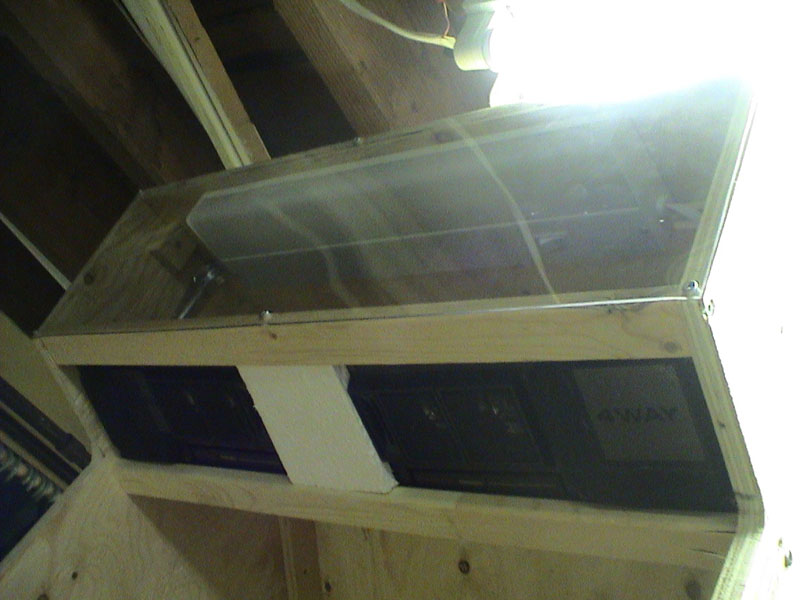
A quick visit to Wal-Mart provided us with a fluroescent light to illuminate the header. Also all the speakers were mounted.
We hacked apart a power bar to be controled by a cool toggle switch we put on the top of the cabinet. This is one of our favorite features.
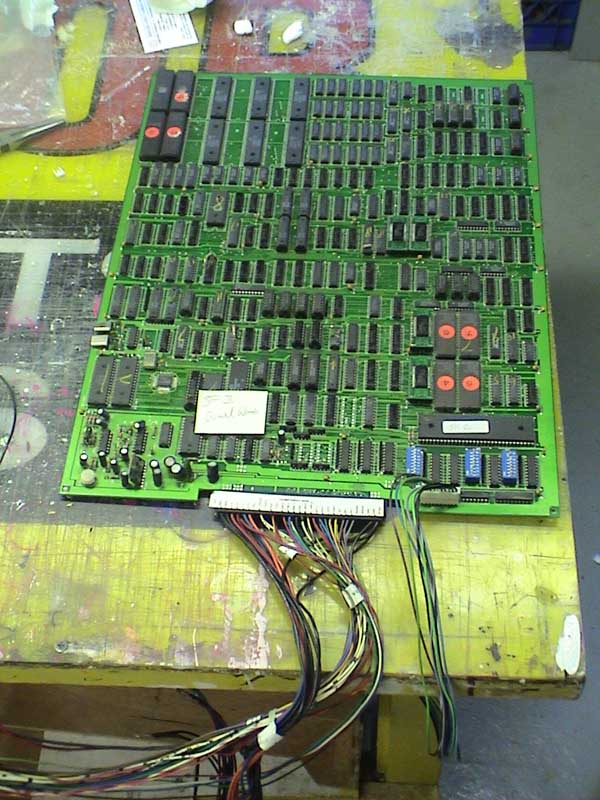
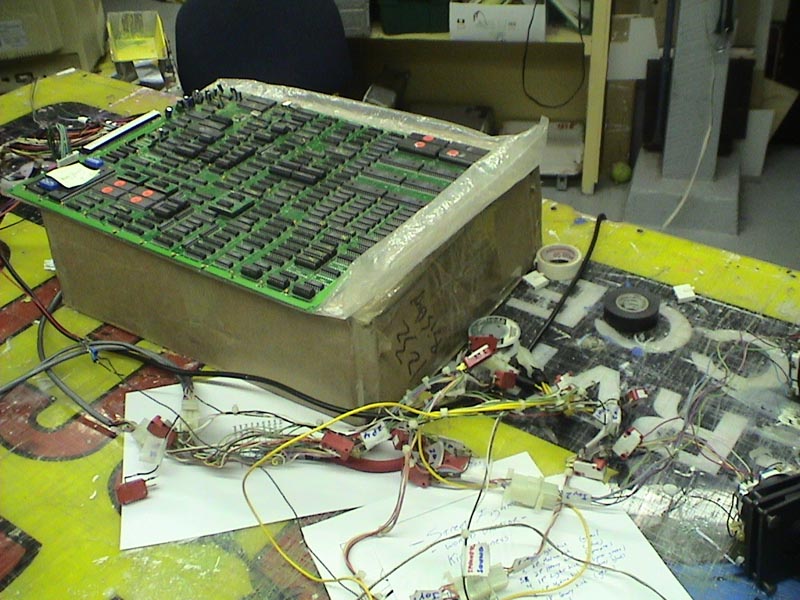
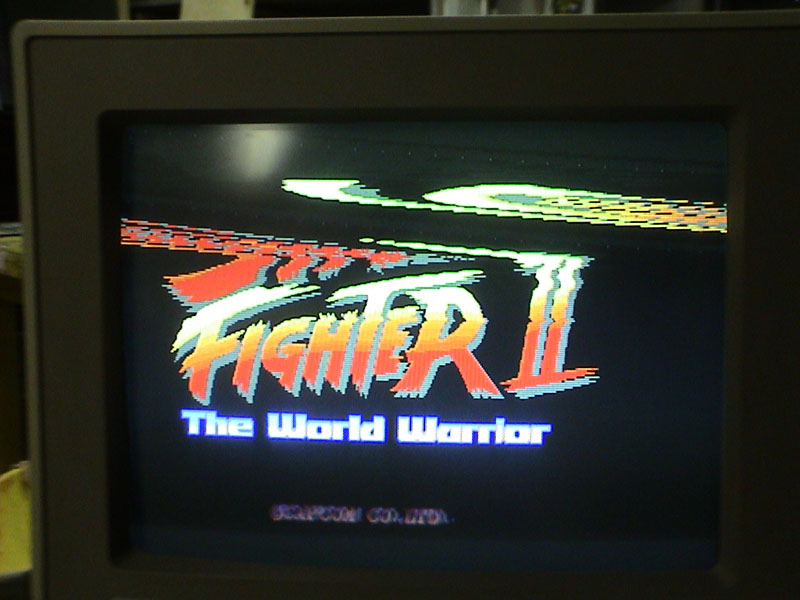
Then the PCB we ordered from eBay came in the mail! Street Fighter 2: The World Warrior. Turns out this thing is a bootleg, but it doesn't really matter.

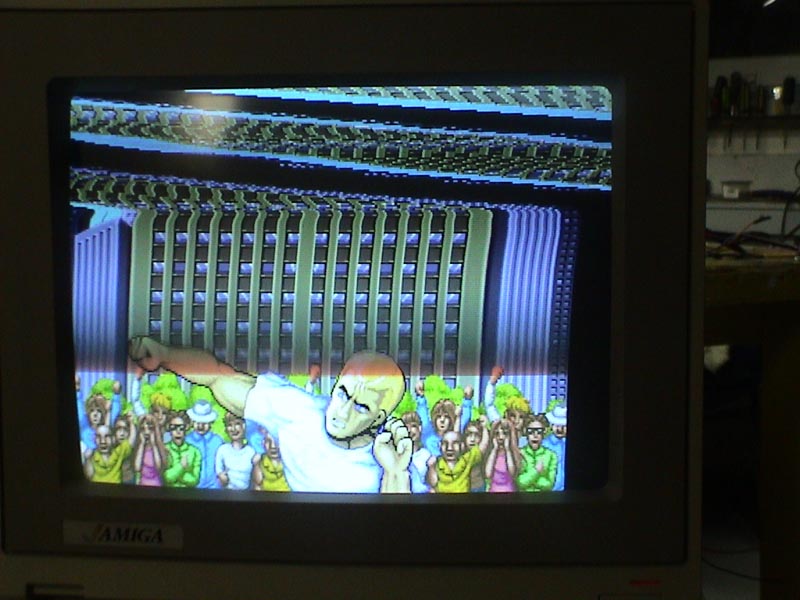
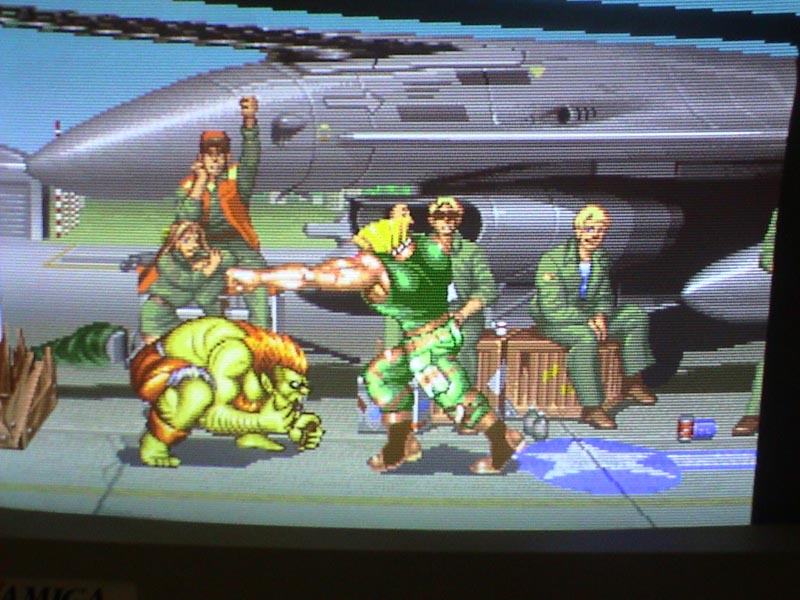
Quickly slapped together the power/sound/control, hooked it up to the monitor (with some difficulty finding the correct pinout for the monitor) and to our shock.. it worked!
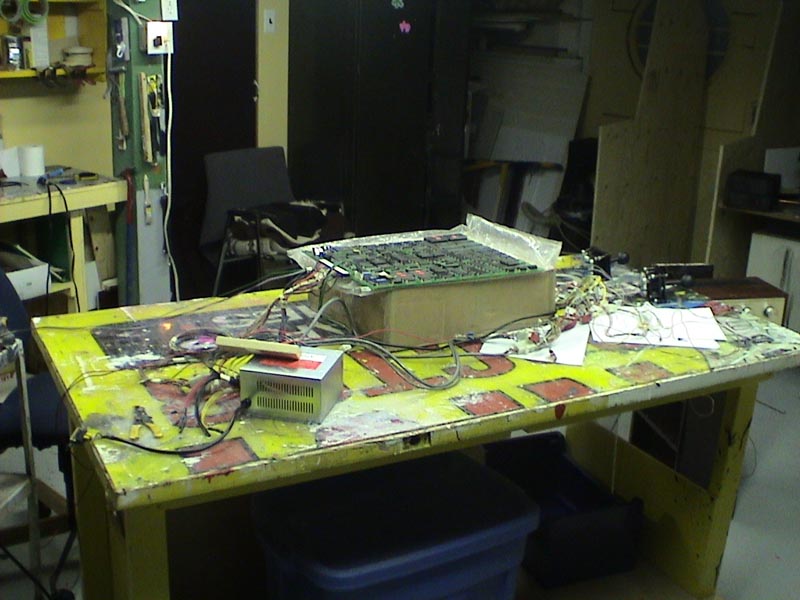
Problems with image scrambling were later corrected.
Painted a nice shiney coat of black! Also, the buttons were mounted. Joysticks mounted later. (2nd pic)

Time to make another trip to Vancouver! I picked up a Canadian quarter mechanism for the coin door and ALMOST bought a marquee/header but the store owner changed his mind.
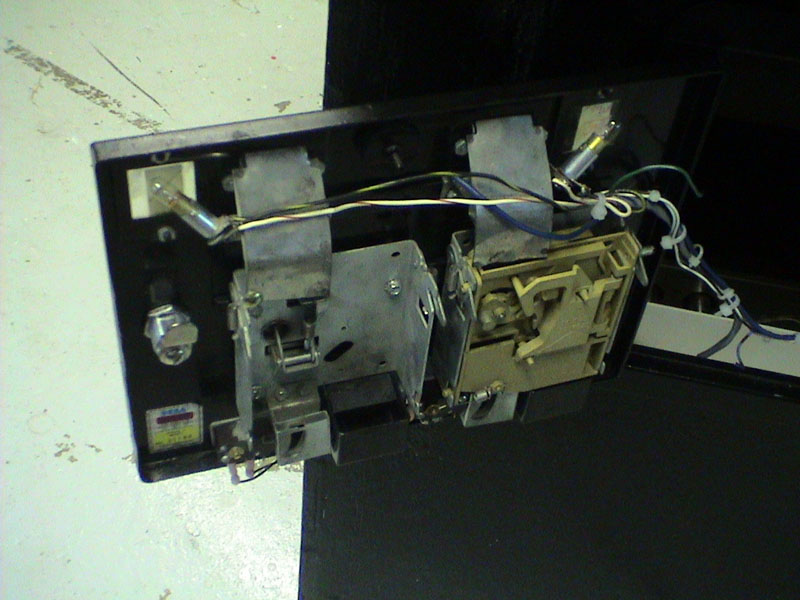
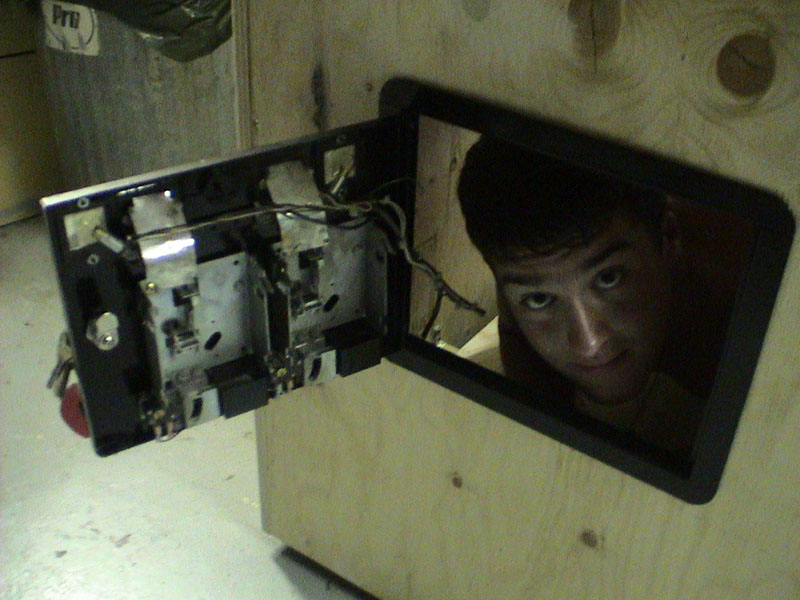
Notice that we removed the SEGA sticker from the supergun and put it inside the coin door. we didn't want to give that thing up, it's just too cool.
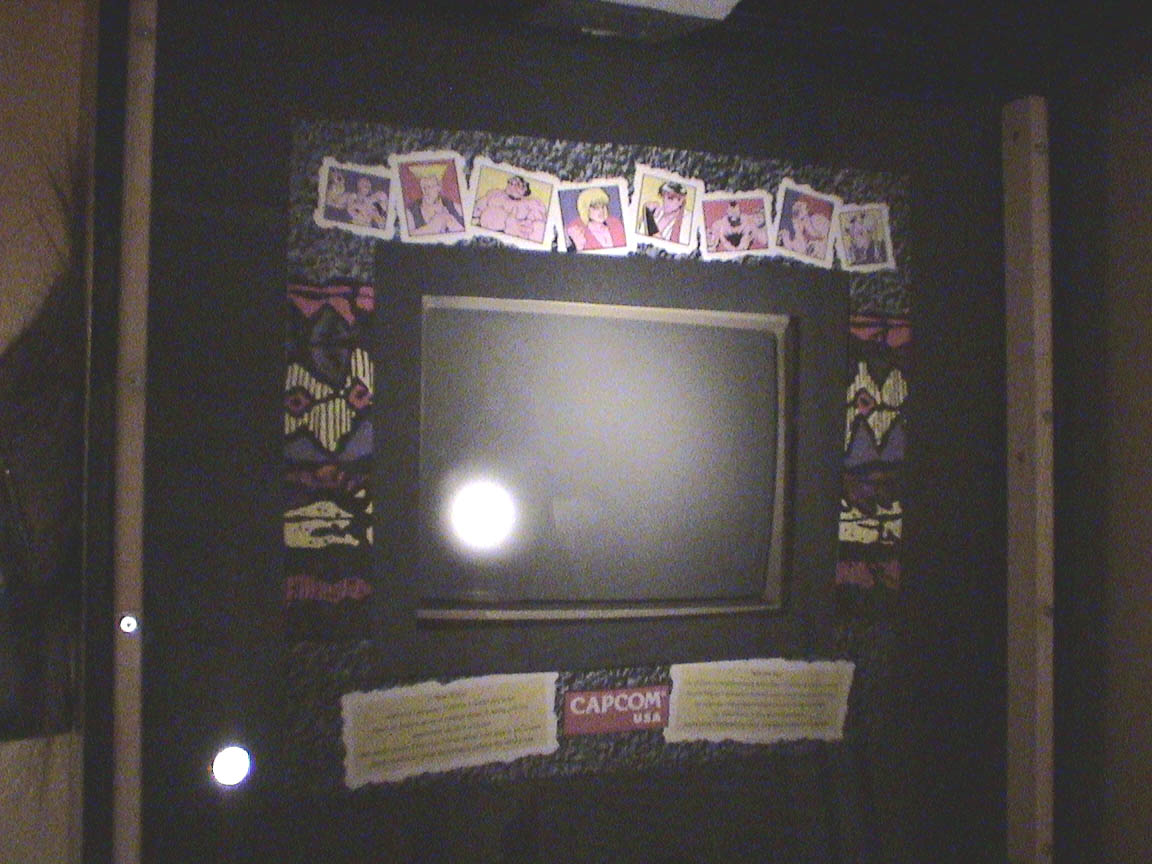
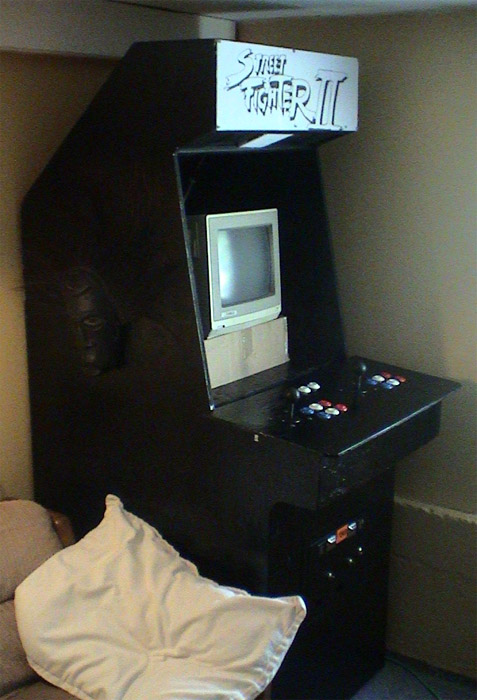
Since John decided not to sell me a marquee, I decided that I could make a better one than the original. Say "hello" to... THE GHETTO MARQUEE!

This is the device we use to keep idiots out of our arcade cabinet. It looks big and scary and angry like a piranha.
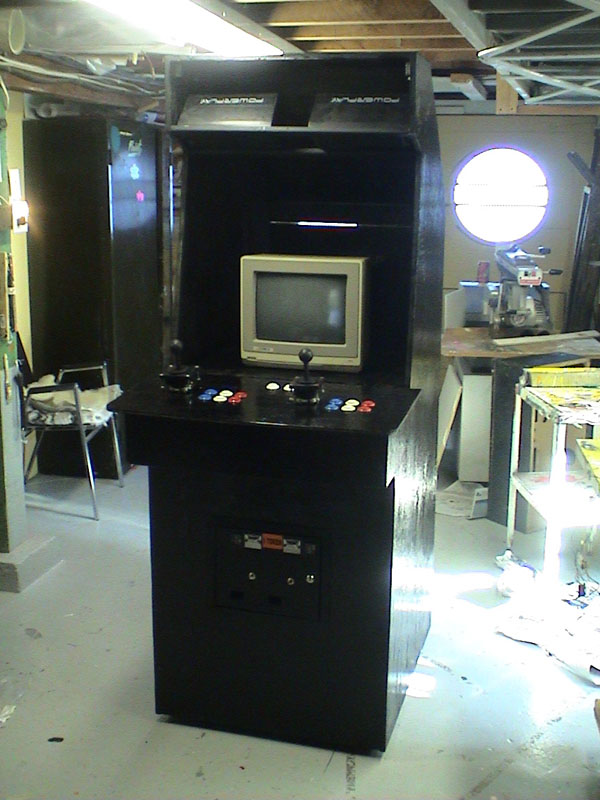
We rewired the joysticks. The way they were set up before, left was up, up was down, etc. We took apart the doorframe in my basement den so the monstrosity would fit in the door, plugged it in and gave it a good home.
Plexiglass was later added along with a new bezel.